→ Ceiling
Summary
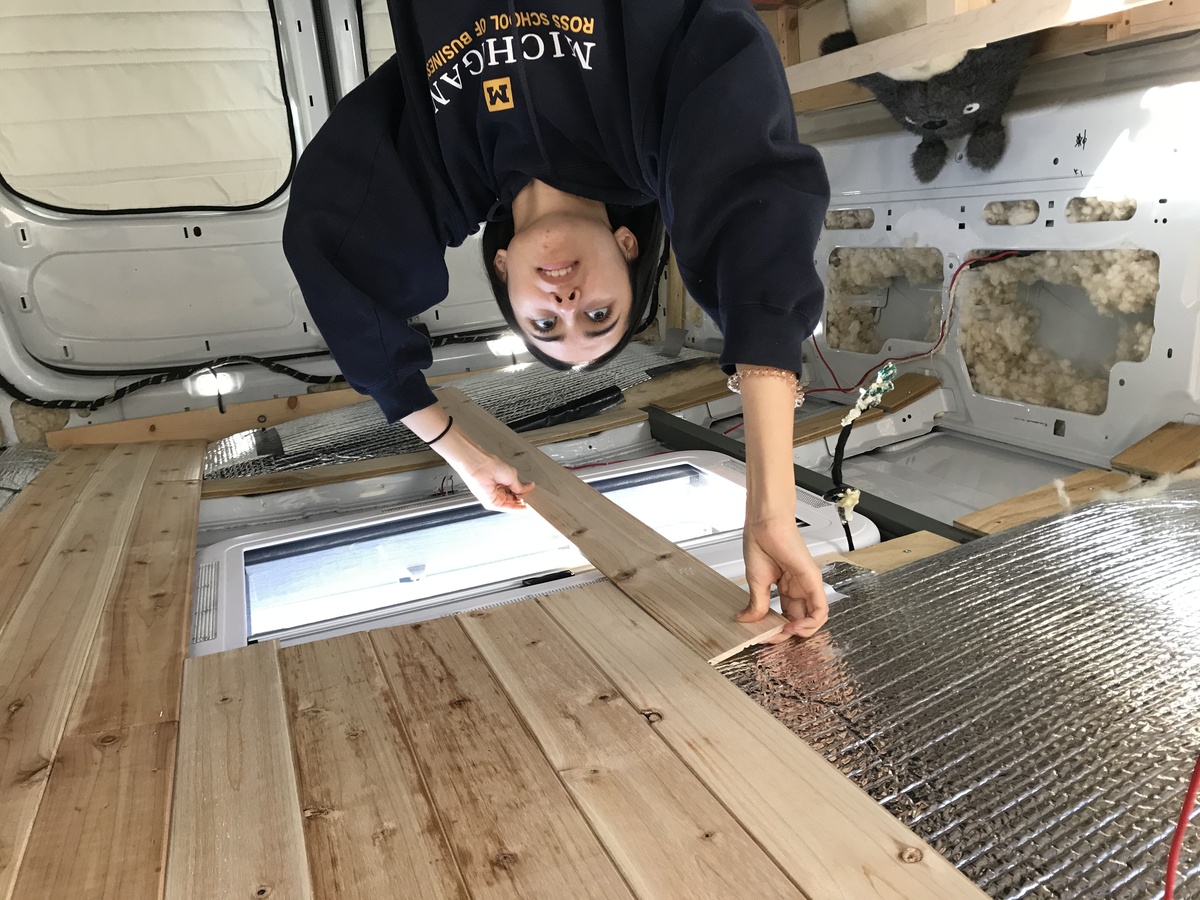
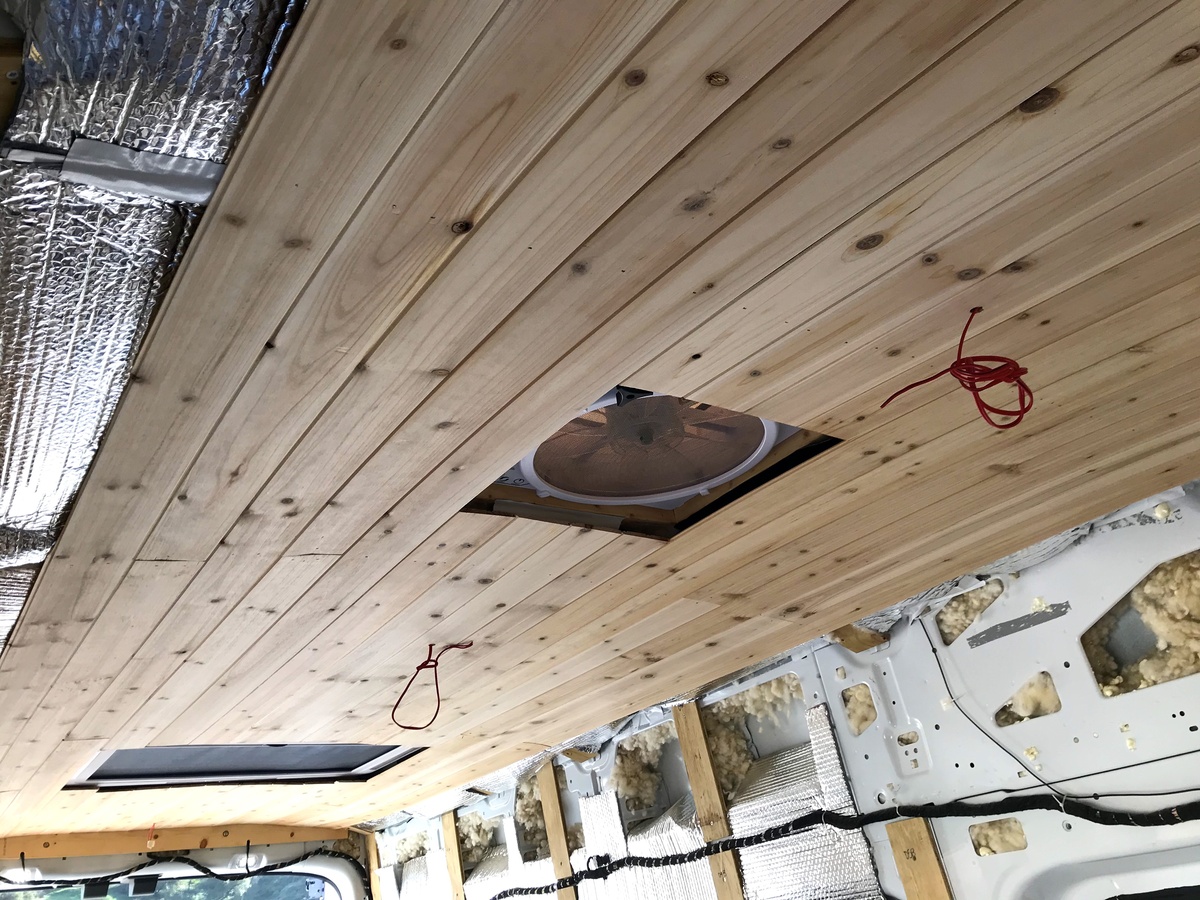
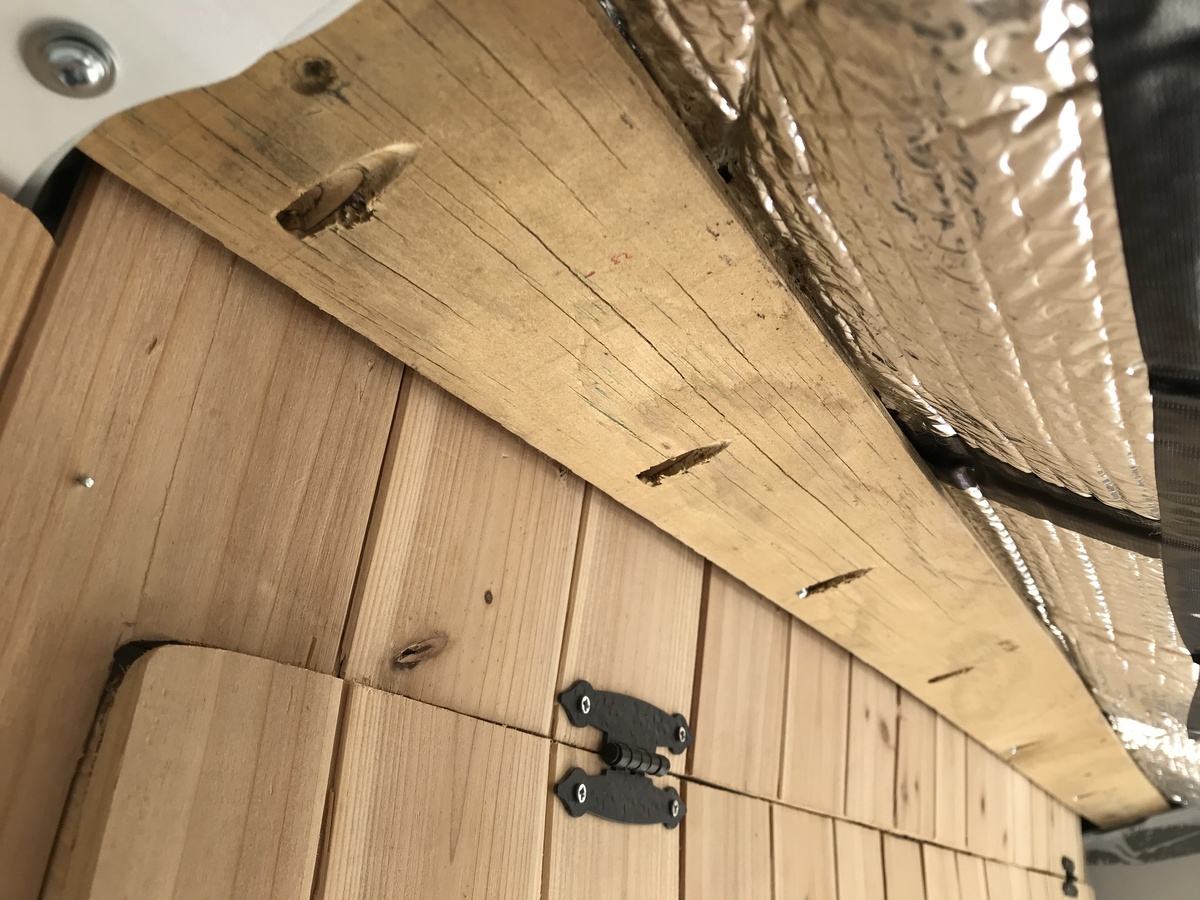
- wooden ceiling furring strips/battens were installed on the existing cross members of the ceiling.
- 1/8” thick cedar tongue and groove strips were installed via nail-gun to these battens, providing the necessary flex to be able to bend to the curvature of the van ceiling
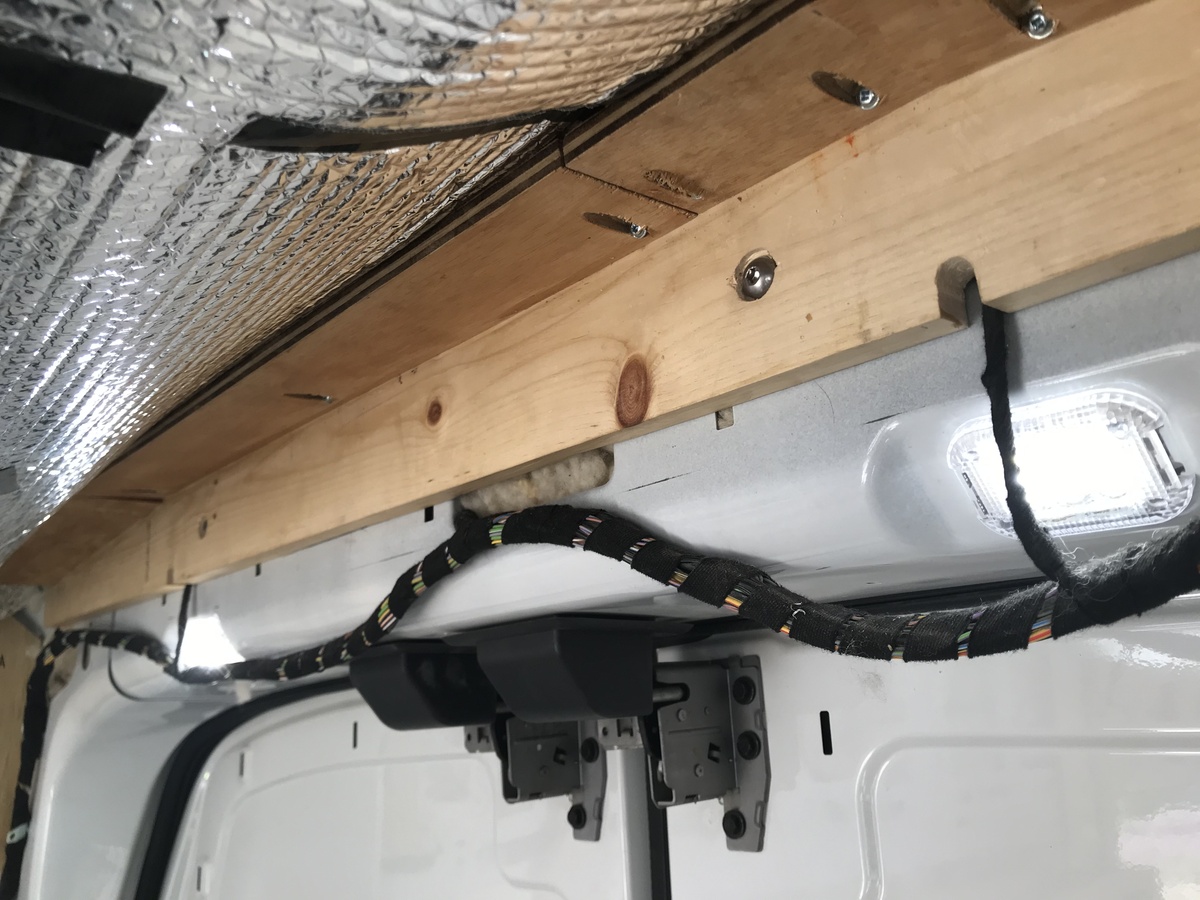
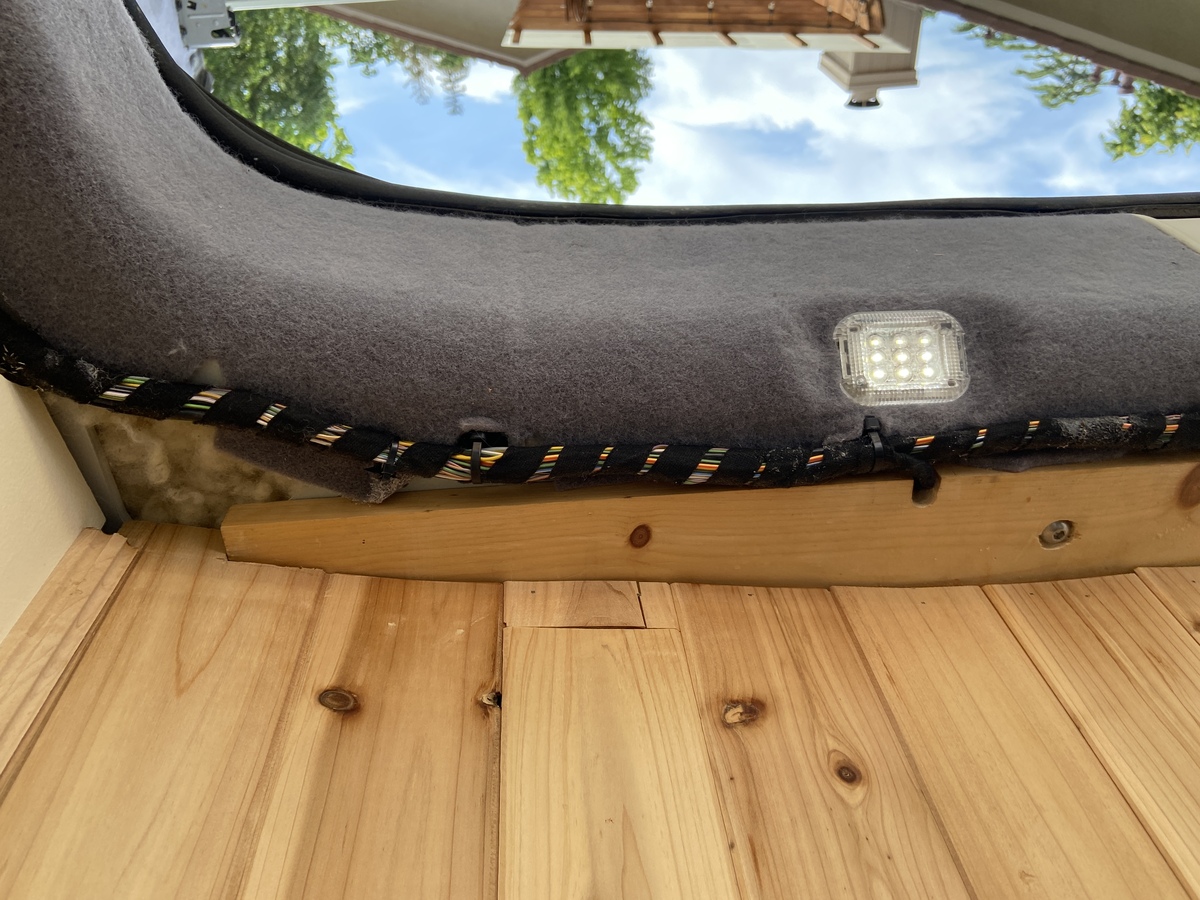
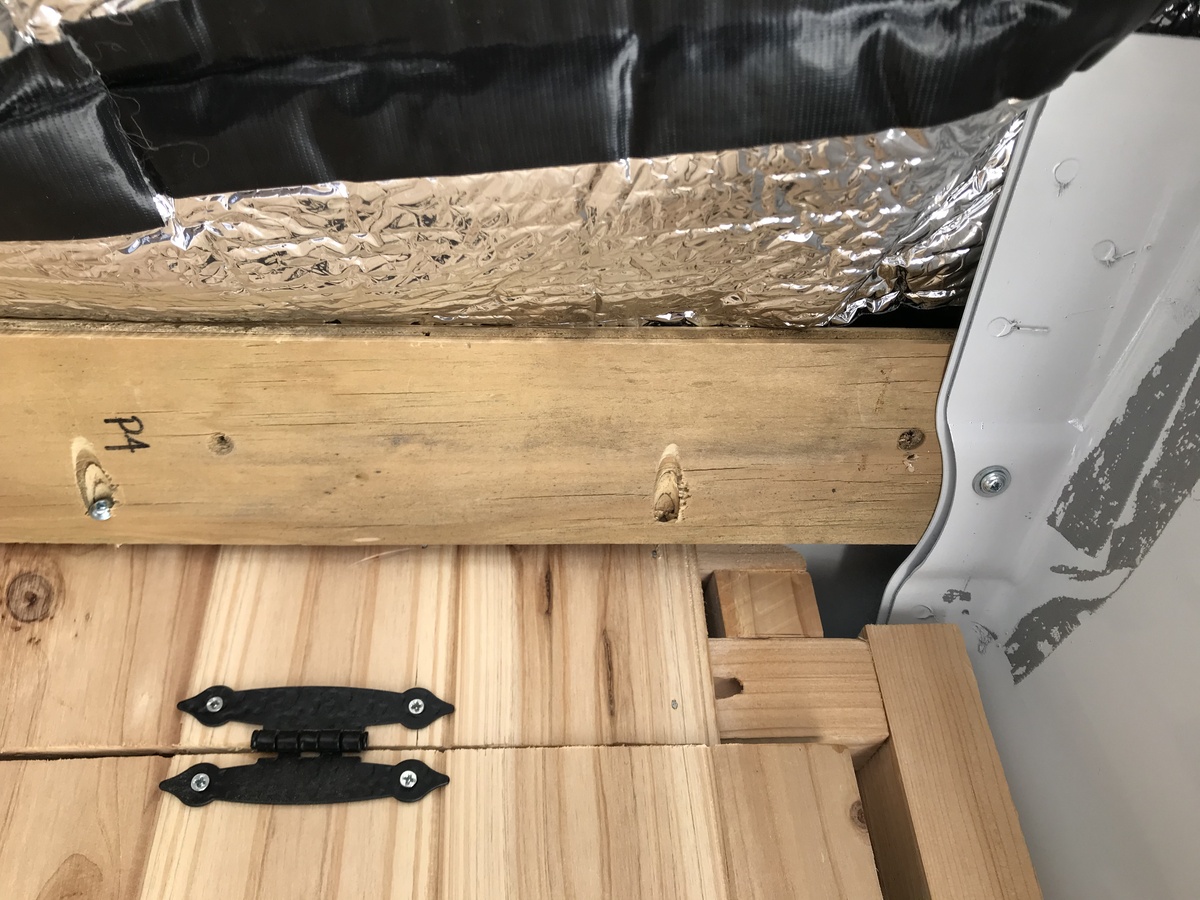
- front and rear end battens were tricky since there aren’t van cross members, so some creativity and custom brackets were required
Installation
.jpeg)

The end battens were tricky, since there is no existing cross member, so I made a wooden angle bracket attached to the inside of the frame above the rear doors with rivet nuts.
Front end batten used the frame we had built for the partition wall as well as two small strips of overhanging aluminum (see the top left of the first photo)
Next: bed-frame-details