→ Hardwood Floors
Ok bare with me: hardwood floors are not the easiest to install, nor the lightest nor most wear resistant, but when you are presented with a whole barn full of reclaimed poplar and oak, it is a hard prospect to pass up.
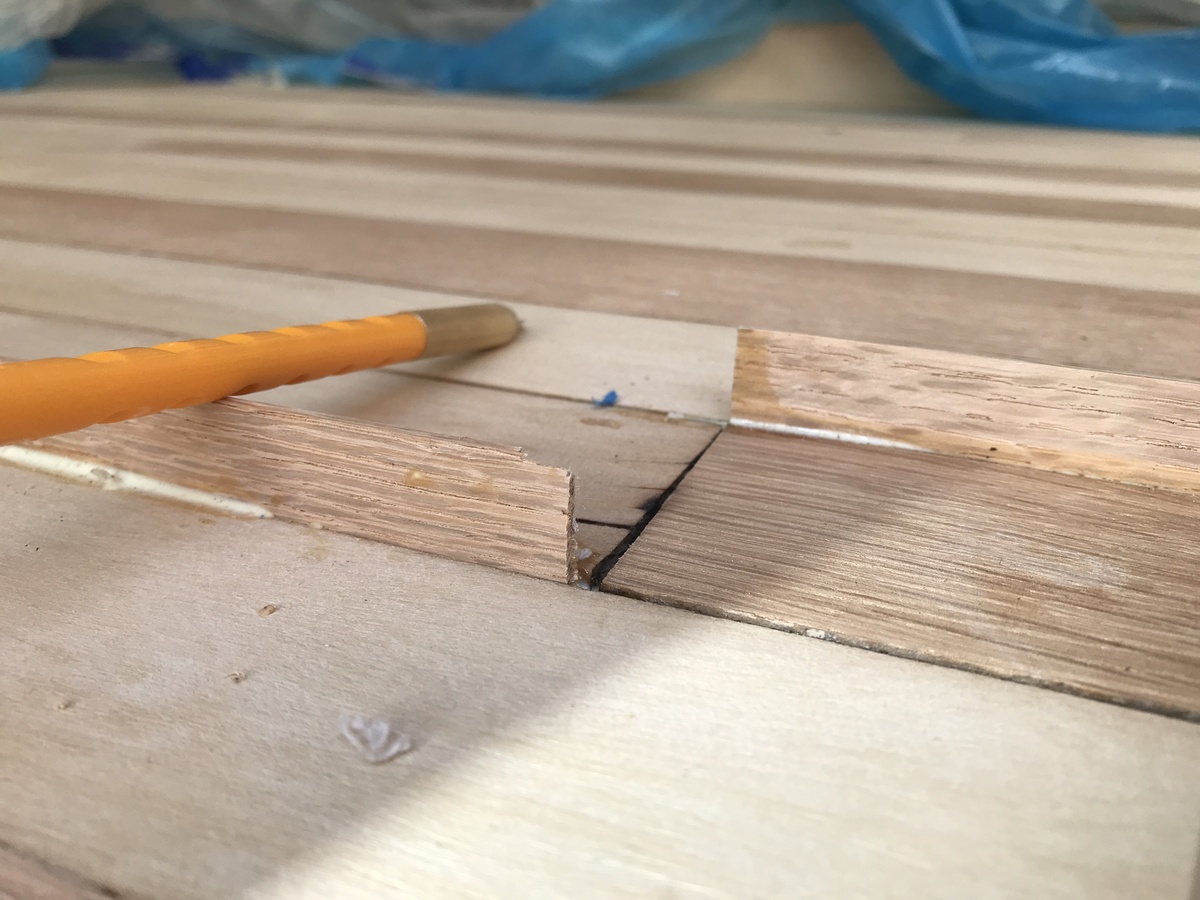
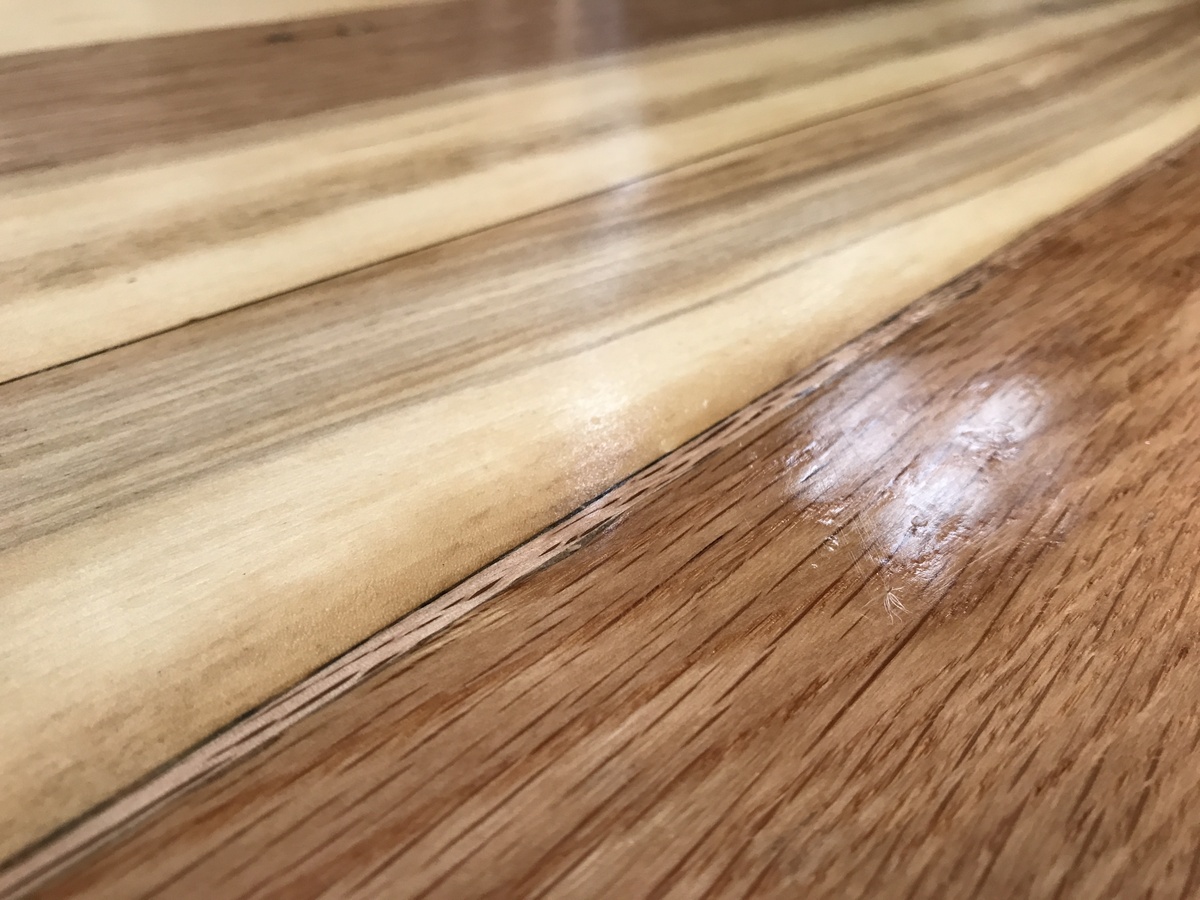
I learned a lot from this installation, like how to room for the wood to expand and contract, how to properly fill and seal in hardwood. Especially since we used two different types of wood, and one hard (oak) and one soft (poplar), I had to redo the floors a couple times, filling in gaps, as they expanded and contracted at different rates. In the end I filled in the gaps with thin shims, and used a commercial grade filler, so that hopefully there would be enough room for movement but it wouldn’t crack the polyurethane coat on top.
Hardwood floors look great, but they are definitely hard work.
Summary
- interleaved oak and poplar, which had to be cleaned (nails removed, grooves freed of dirt)
- gaps should be left so the wood can expand and contract
- it’s probably better to use only one type of wood
- gaps larger than 1/8” should be filled with thin shims and commercial grade filler - store bought putty will just crack at any larger than this
- finished with three coats of polyurethane for durability
Images
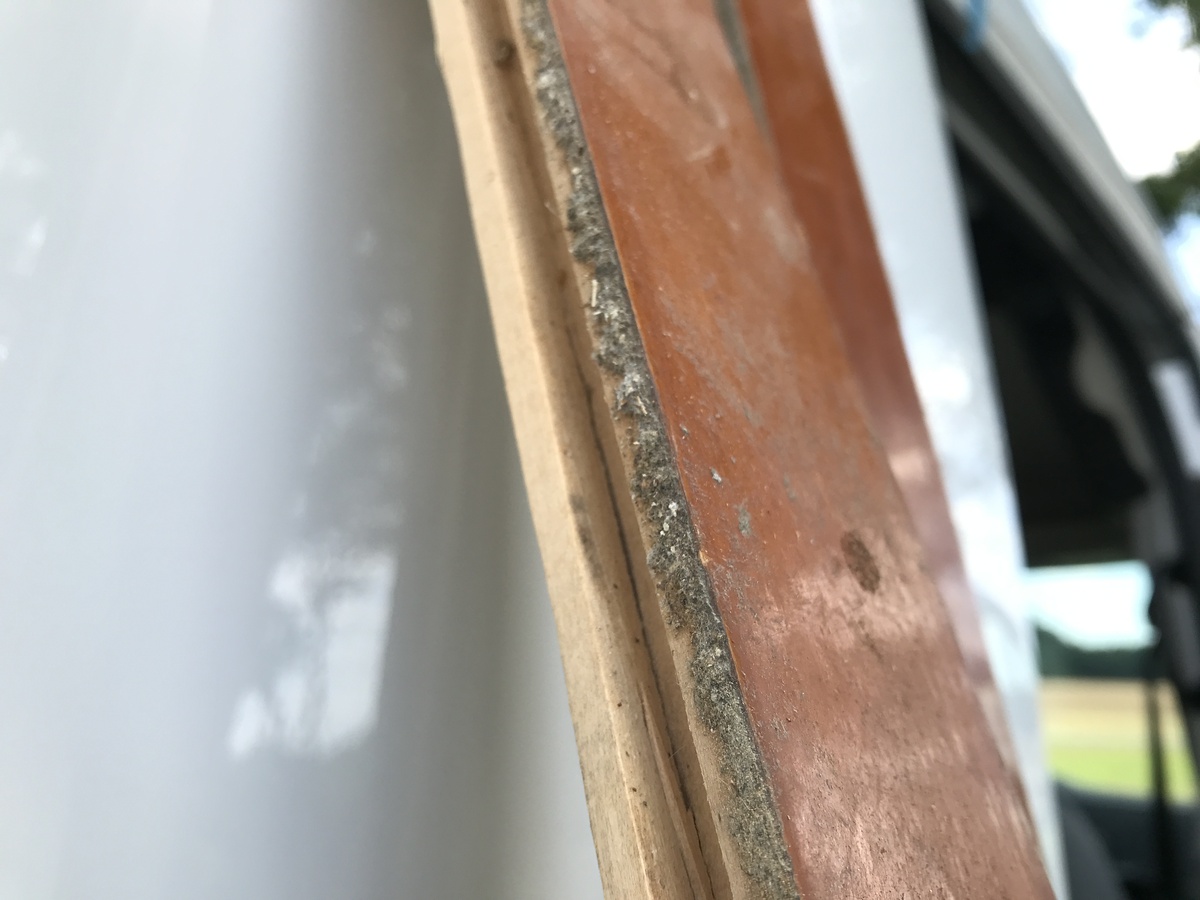
The crud that we had to remove off the tongue and groove:
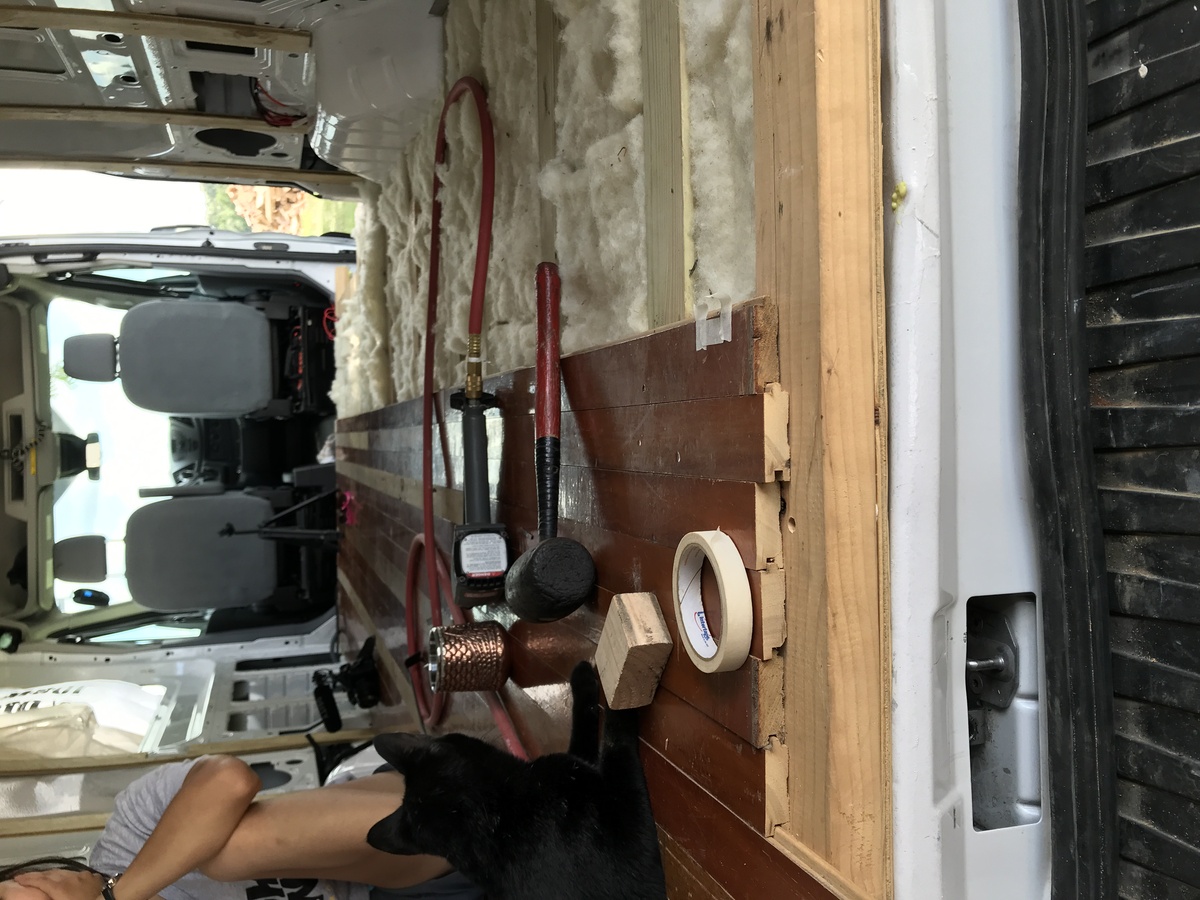
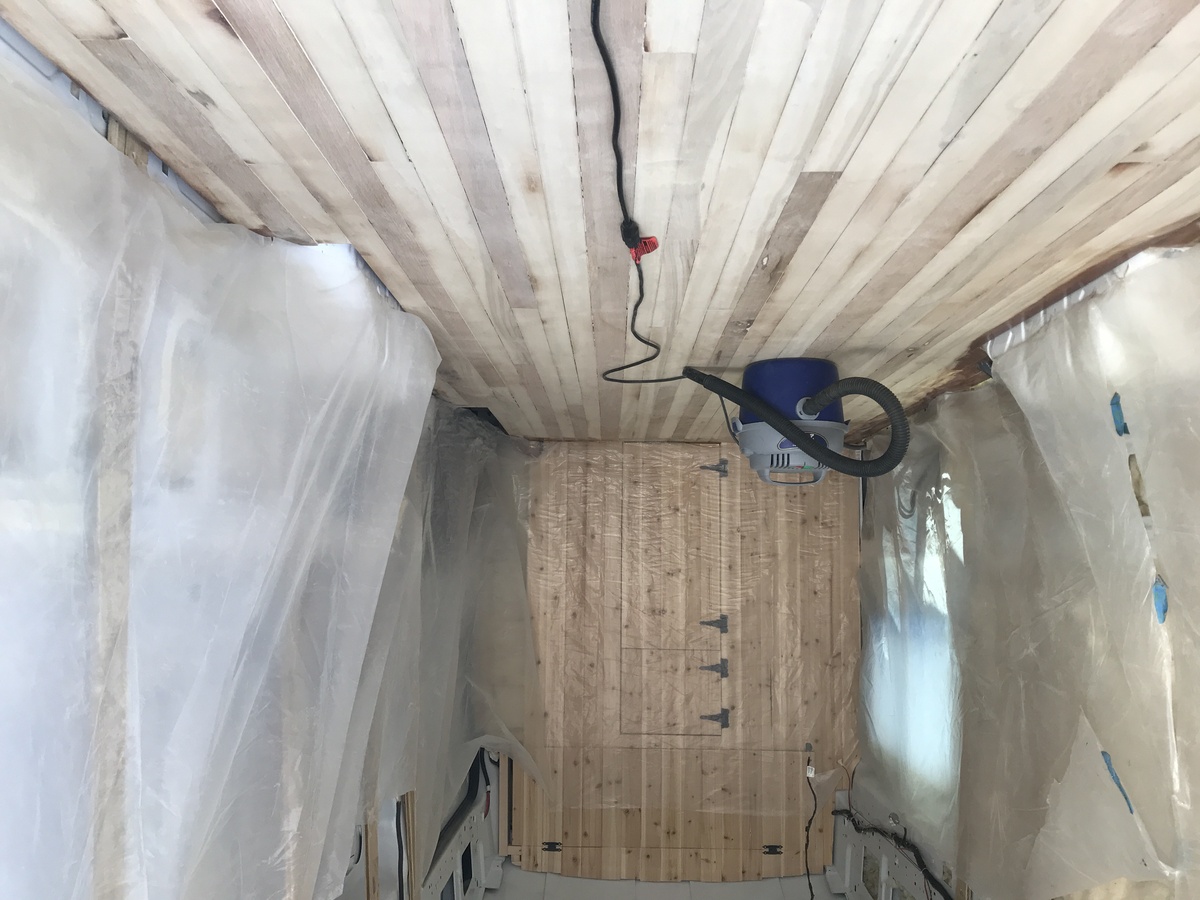
Laying the floor pattern out

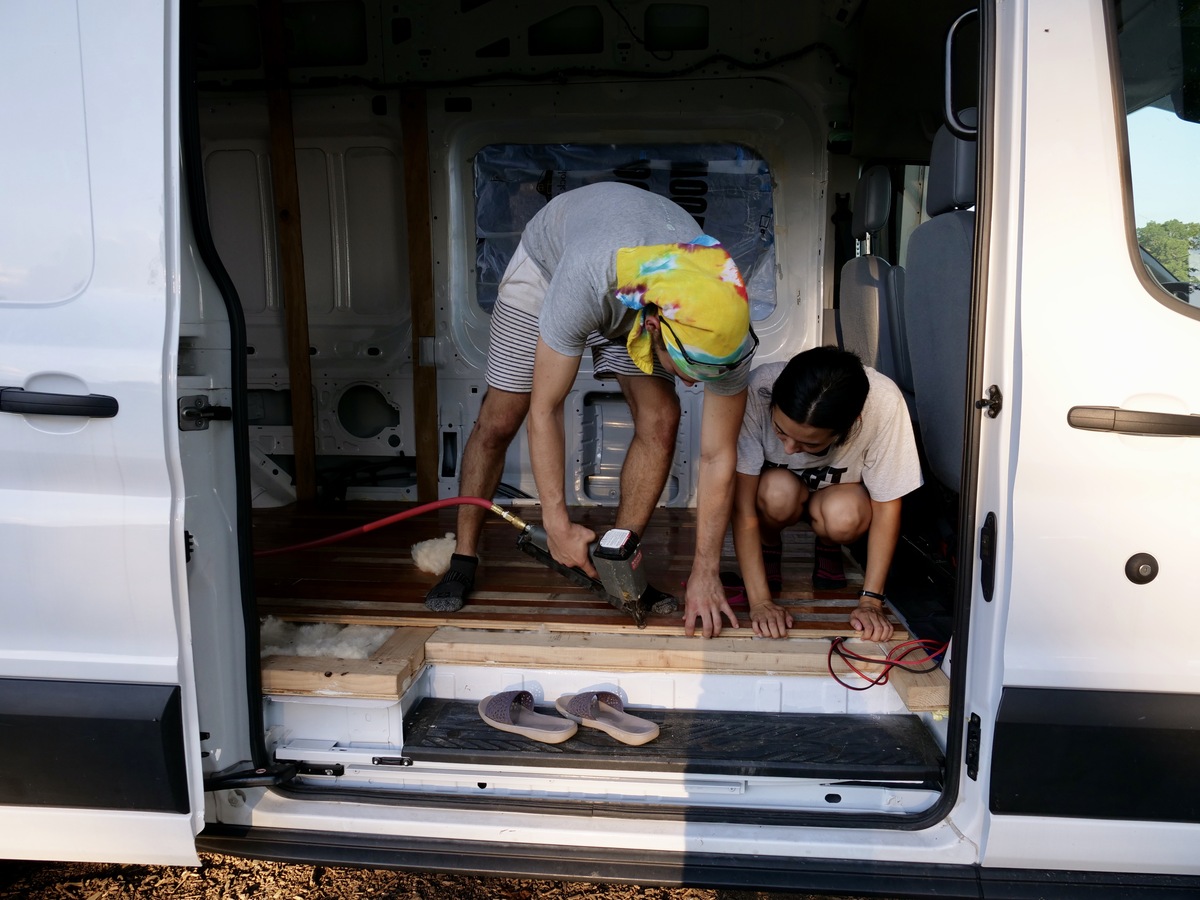
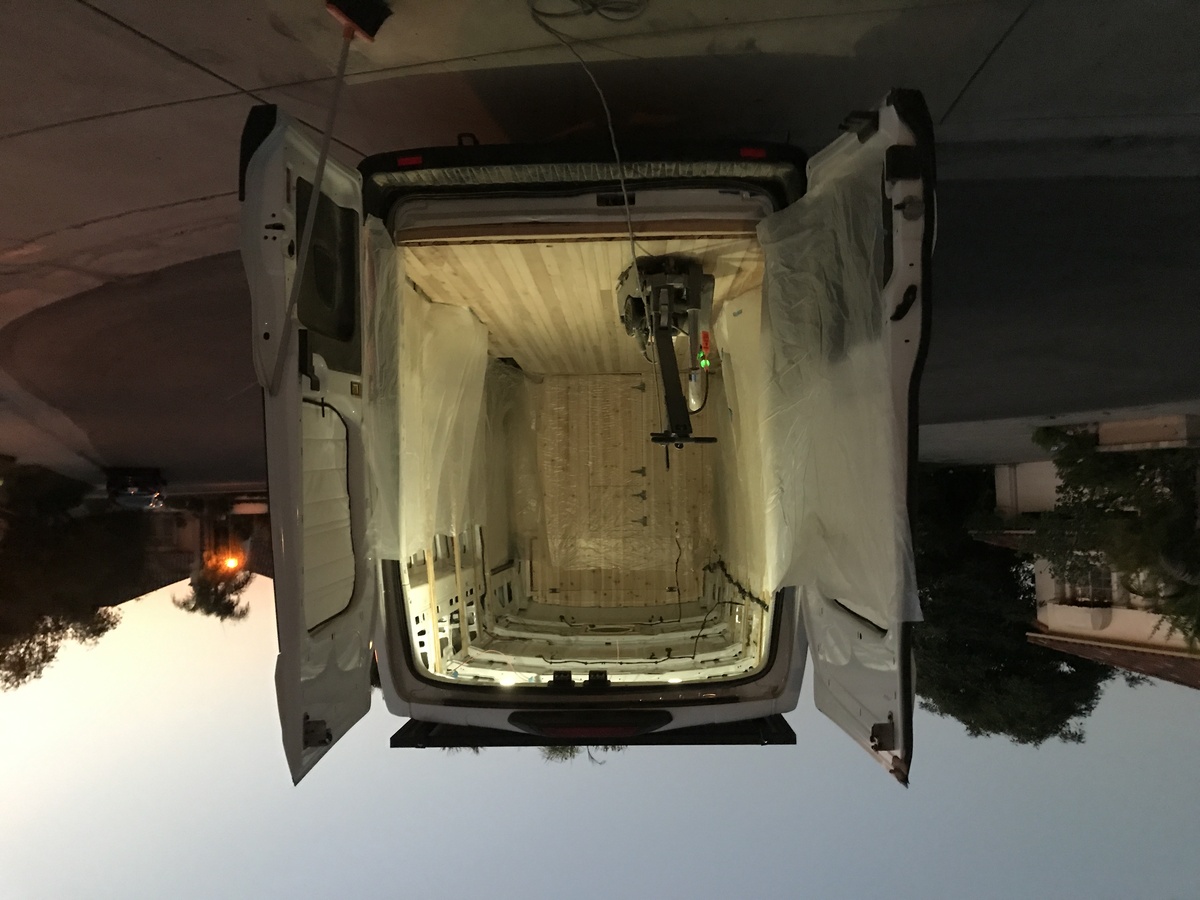
Installation
Sanding
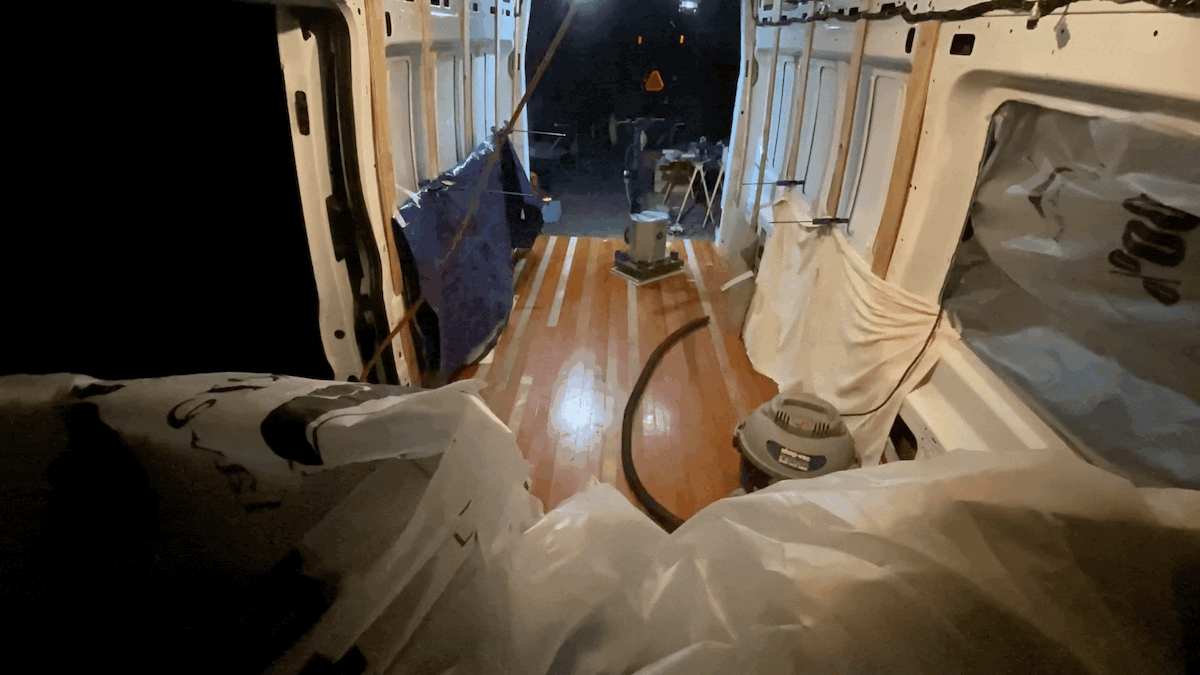
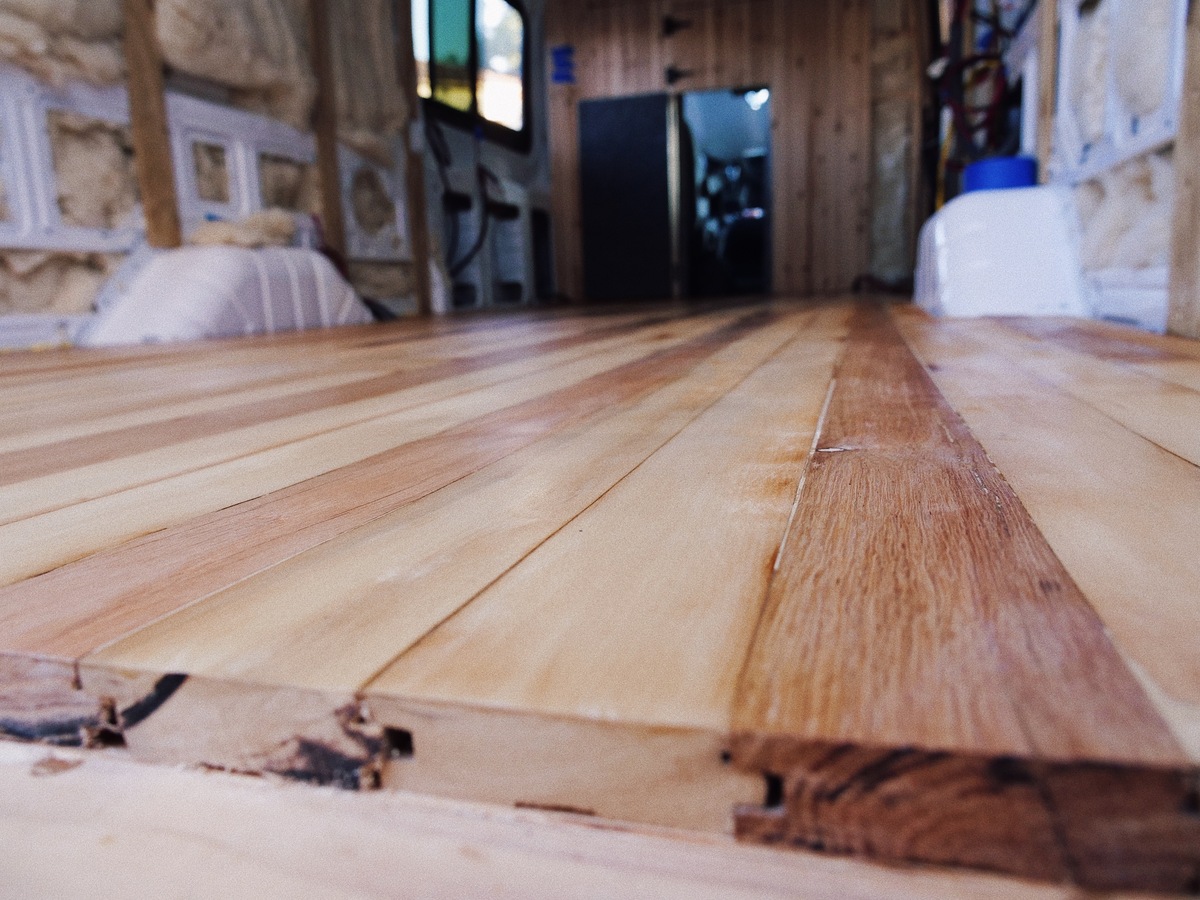

Thin shims were used to fill gaps that widened after a few months, and then I used commercial grade pore filler. Three coats of of shiny polyurethane was applied
Next: walls-partition-wall